Dashie can pull photos from several sources to power your photo slideshow screensaver. Whether you have a self-hosted Immich library, want curated stock photos from Unsplash, or already store family pictures in Home Assistant, you can mix and match sources to fit your setup. This guide walks through configuring each available source.
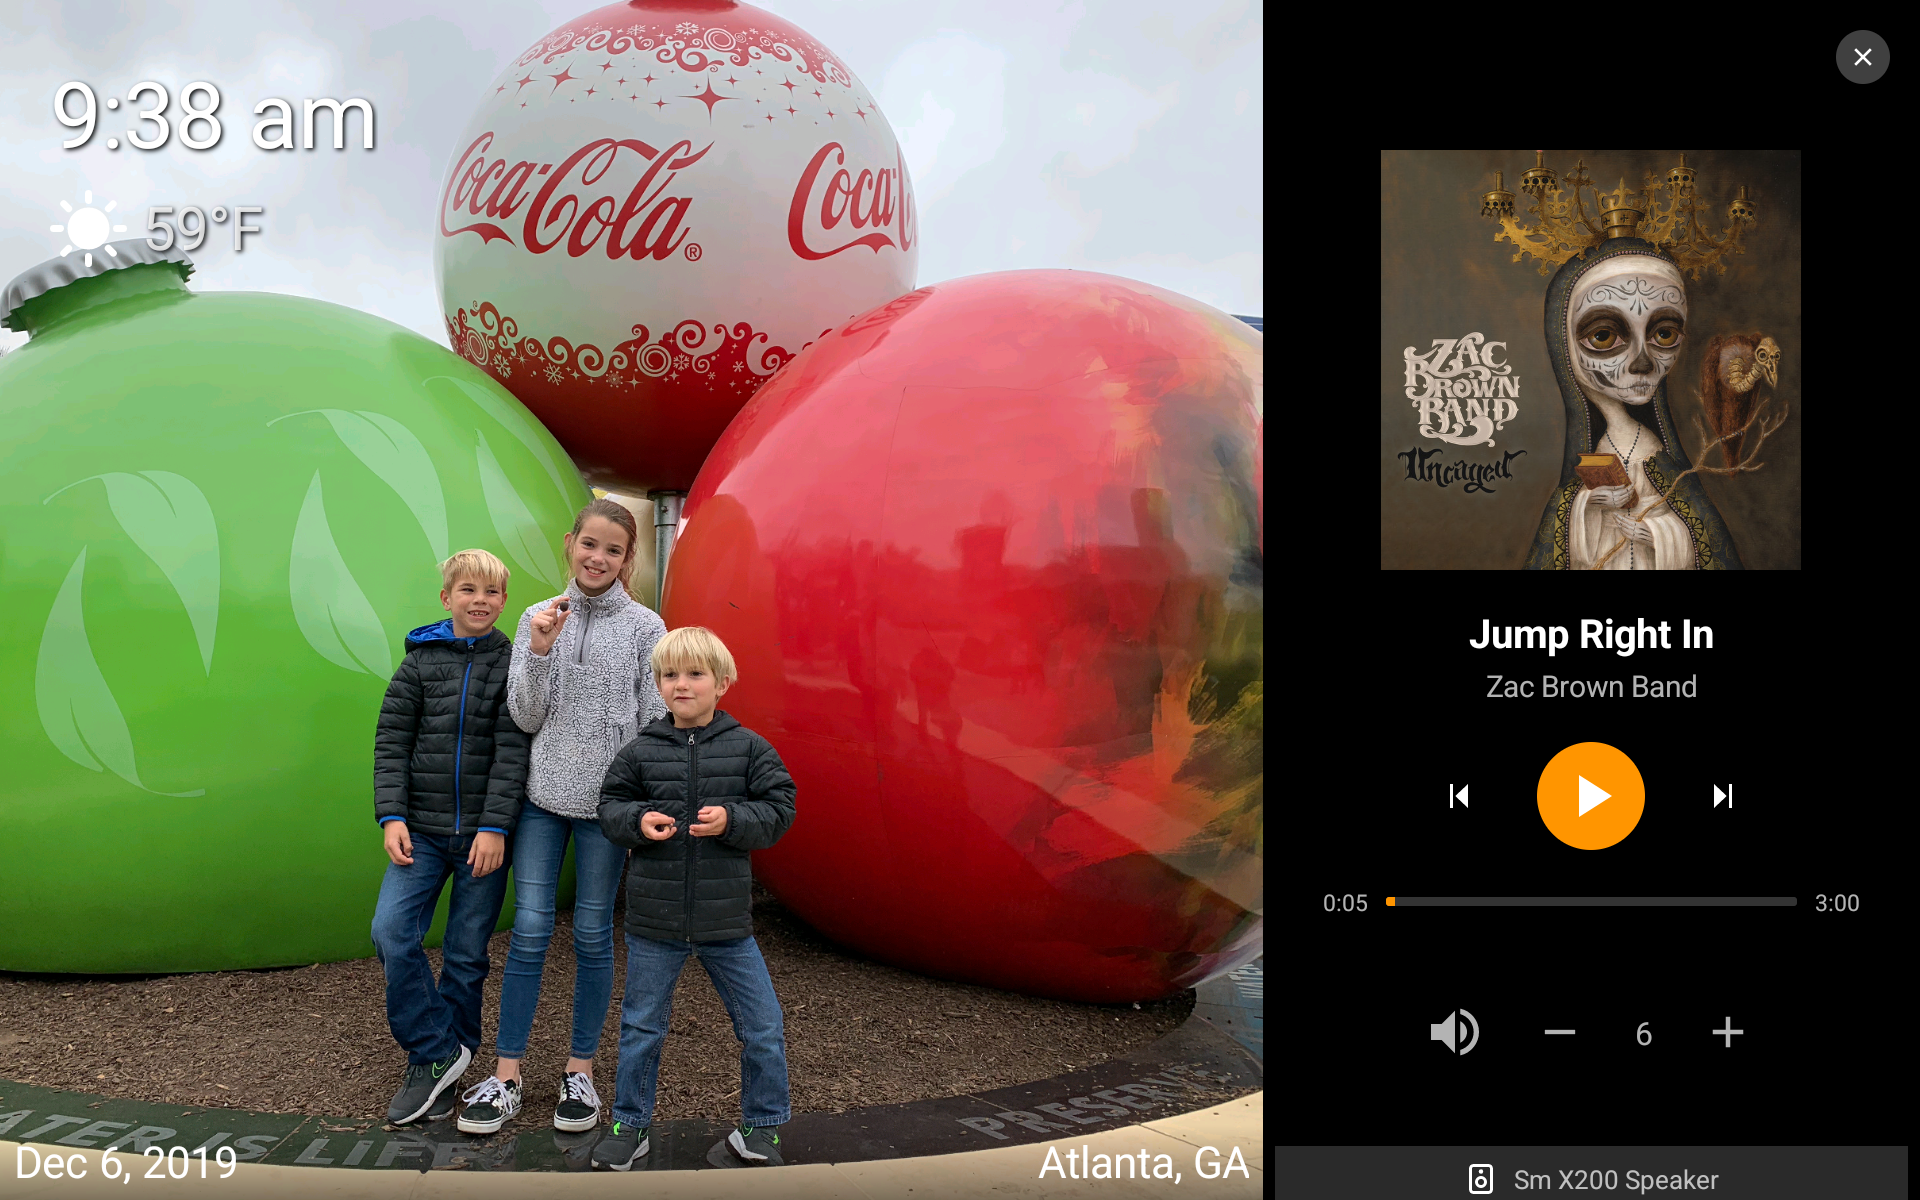
Where Photos Appear
Photos configured here drive the photo slideshow screensaver. For screensaver behavior like timeout and motion wake, see the Screensaver Setup Guide.
In This Guide
Getting Started
All photo screensaver settings live under the Control Center. Here's how to get there:
- Open the Dashie sidebar by swiping from the left edge of the screen.
- Tap "Control Center" at the bottom of the sidebar.
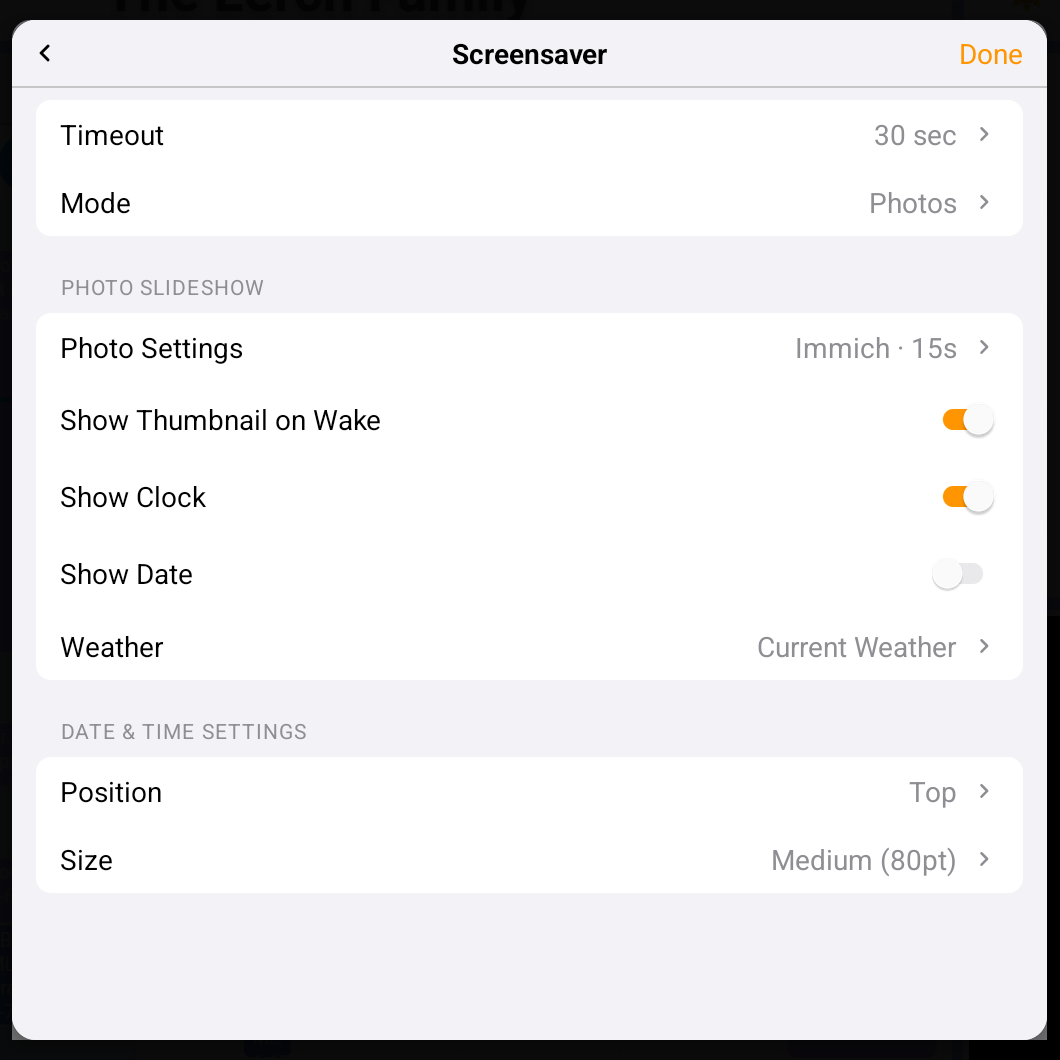
- Go to Screensaver & Display → Screensaver.
- Set Screensaver Mode to "Photos". The photo slideshow options will appear below — this is where you'll pick a source and configure it.
Available Photo Sources
Dashie supports three photo sources today, with two more on the way. Once you've enabled Photos mode (above), pick your source from the photo slideshow options.
Immich Popular
Connect to your self-hosted Immich photo server. Display random photos from your full library or a specific album.
Best for: Self-hosters who already use Immich
Home Assistant
Pull photos from your Home Assistant media folder. Add photos once on your HA server and they sync to every Dashie device.
Best for: Existing HA users with family photos already organized
Unsplash
Curated, high-quality stock photos. Pick a search keyword and Dashie streams beautiful images for free. No account or setup required.
Best for: Quick setup, public displays, mood themes
Immich
Immich is a popular self-hosted photo management server — think Google Photos, but on your own hardware. Dashie connects directly to your Immich instance to pull random photos from your full library or a specific album.
Before You Start
You'll need:
- A running Immich server reachable from your Dashie device (same network or remotely accessible)
- Your Immich server URL (e.g.,
http://192.168.1.50:2283) - Your Immich account email and password
Configure Immich
- Open the photo slideshow options as described in Getting Started.
- Set Photo Source to "Immich".
-
Enter your Immich server URL. Dashie will try common ports automatically (
2283,8080,3001) if you don't specify one. For example,http://192.168.1.50works just as well ashttp://192.168.1.50:2283. - Sign in. A login screen opens — enter your Immich email and password. Dashie captures your access token automatically and stores it locally on the device.
- (Optional) Pick an album. Once signed in, you'll see a list of your Immich albums. Select one to limit photos to that album, or leave it on "All Photos" for random pulls from your entire library.
- Save. Dashie pre-fetches a small cache of photos and streams them into your slideshow.
Metadata Comes from Immich
Immich strips EXIF data from delivered images, so date/location overlays use the metadata Dashie pulls from the Immich API instead. This is generally more accurate than EXIF anyway.
HTTPS and Self-Signed Certs
If your Immich server uses a self-signed HTTPS certificate, Dashie may refuse to connect. Either install a trusted cert (Let's Encrypt via a reverse proxy is easiest) or use plain HTTP on your local network.
Re-authenticating
If your Immich session expires or you change your Immich password, just go back to Control Center → Screensaver & Display → Screensaver → Immich and sign in again. The new token replaces the old one.
Home Assistant Media Browser
Dashie pulls photos from your Home Assistant's /config/media/ folder
(or /media/ on Home Assistant OS). This central location means you add
photos once and every Dashie device on your account displays them automatically.
Step 1: Add Photos to Home Assistant
You need to get your photos into Home Assistant's media folder first. There are several ways to do this — pick whichever fits your workflow.
Option A: Samba Share (Recommended for Bulk Uploads)
- Install the Samba share add-on from Home Assistant Settings → Add-ons → Add-on Store. Search for "Samba share" and click Install.
- Configure a username and password in the add-on's Configuration tab, then start the add-on.
-
Connect from your computer. On Mac, open Finder and press Cmd+K, then enter
smb://homeassistant.local/config. On Windows, open File Explorer and type\\homeassistant.local\configin the address bar. -
Open the
mediafolder (create it if it doesn't exist) and drag-and-drop your photos.
If homeassistant.local Doesn't Resolve
Use your HA's IP address instead, e.g., smb://192.168.1.100/config.
Find it in HA Settings → System → Network.
Option B: File Editor Add-on
For a few photos at a time, install the "File editor" or "Studio Code Server" add-on from the
Add-on Store. Use its upload button to push photos into /config/media/.
Option C: Home Assistant Media Browser UI
In Home Assistant, go to Media in the sidebar. You can upload images
directly into the Local Media library from your browser. Files land in the same
/config/media/ folder.
Step 2: Organize with Subfolders (Optional)
Dashie scans subfolders automatically, so you can organize photos however you like. A typical setup looks like this:
/config/media/
├── family/
│   ├── birthday-2026.jpg
│   └── summer-vacation.jpg
├── pets/
│   ├── max.jpg
│   └── whiskers.jpg
└── holidays/
    ├── christmas-2025.jpg
    └── thanksgiving-2025.jpg
Step 3: Configure Dashie
- Open the photo slideshow options as described in Getting Started.
- Set Photo Source to "Home Assistant Media".
-
Choose a folder scope:
- All Folders — recursively includes every photo across all subfolders
- Root Only — only photos at the top level of
/config/media/
- Photos will sync automatically. First sync may take a moment depending on library size.
Supported Formats
JPG, JPEG, PNG, WebP, GIF, and HEIC. HEIC files are converted to JPEG on the fly. Landscape orientation gives the best fit; portrait photos display with a blurred background.
Unsplash
Unsplash is the fastest source to get running — no account, no API key, no server setup. Just type a keyword and Dashie streams curated stock photos that match.
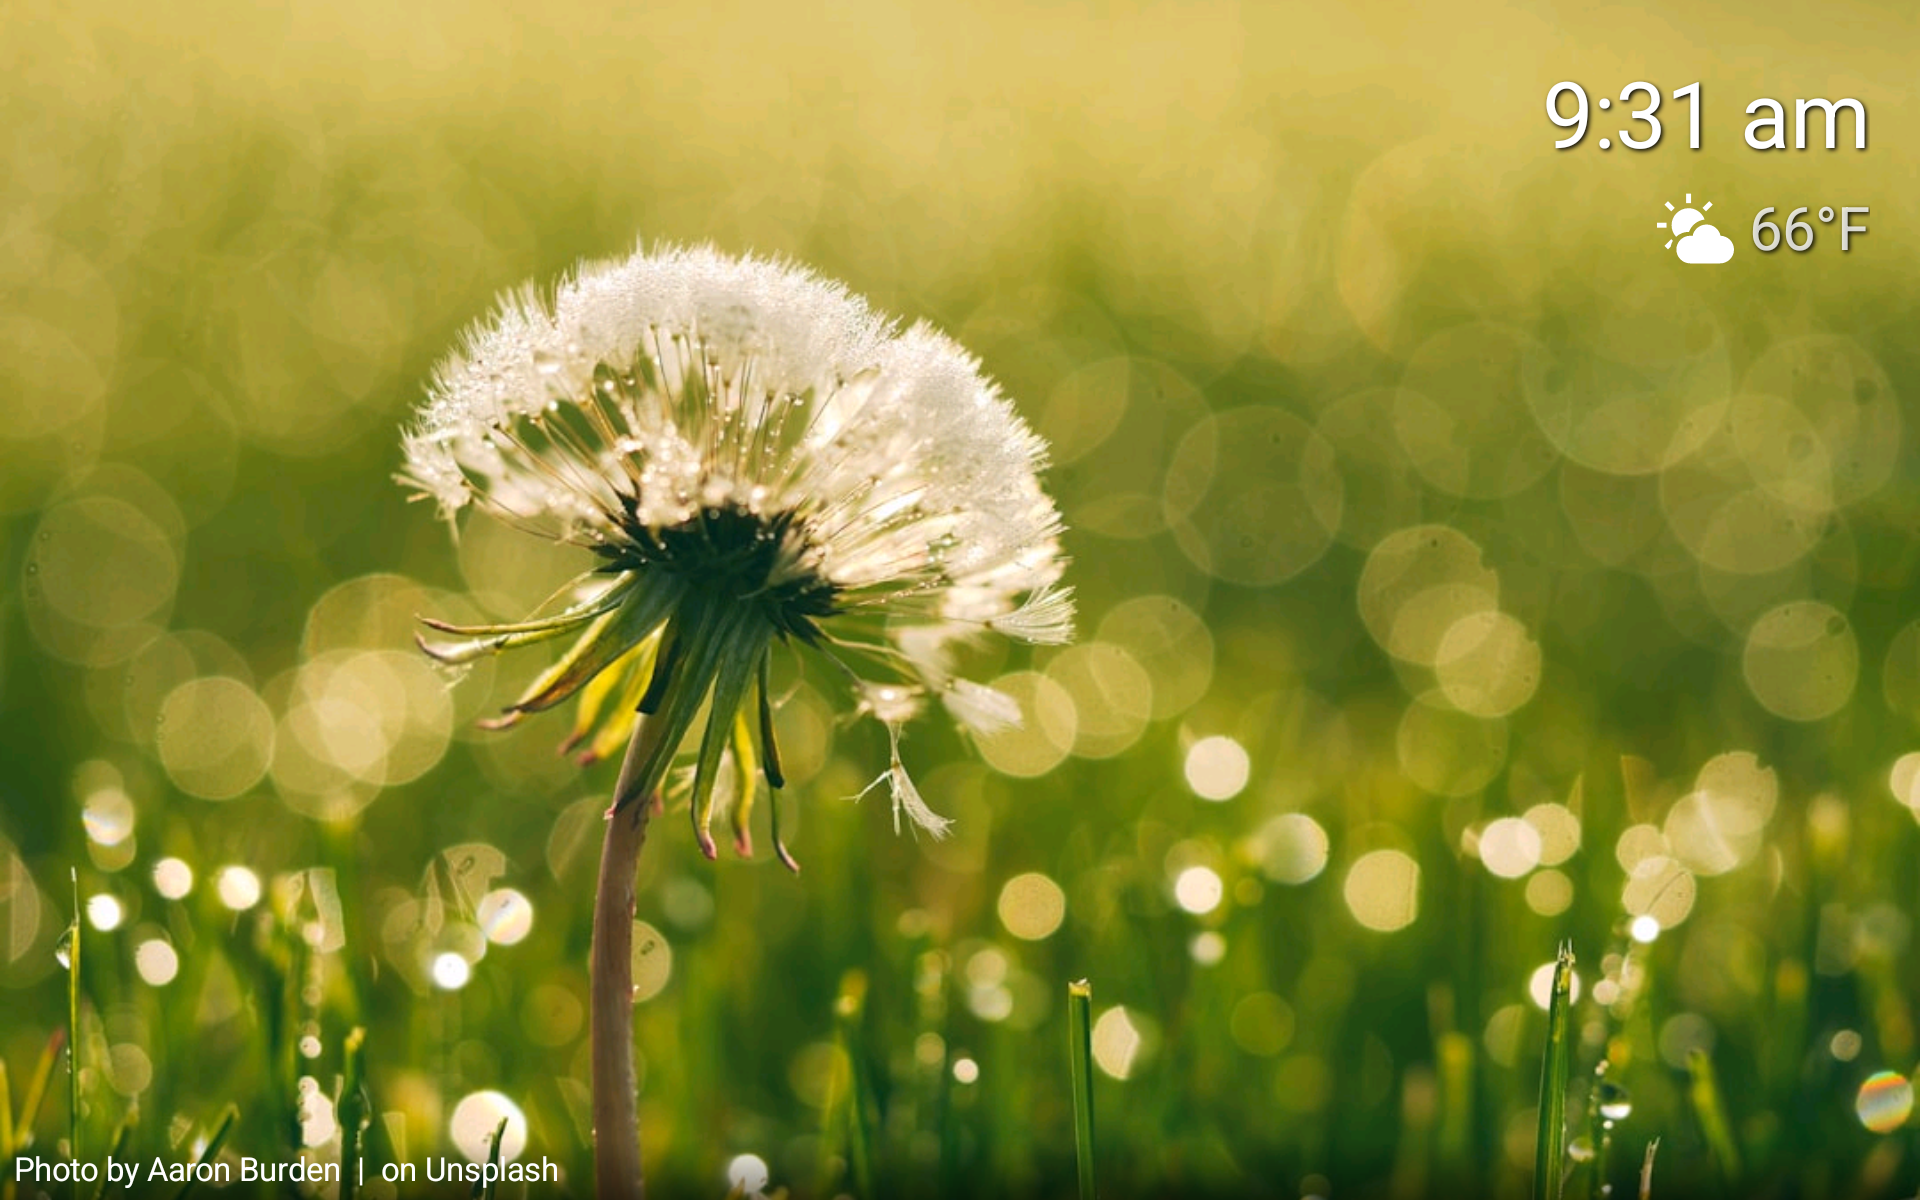
Configure Unsplash
- Open the photo slideshow options as described in Getting Started.
- Set Photo Source to "Unsplash".
-
Enter a search keyword in the query field. Examples:
nature,mountains,minimalist,ocean sunset,autumn forest. Leave blank to default tonature. - Save. Photos start streaming immediately on the next slideshow tick.
Picking Good Keywords
Broader terms like landscape or architecture give the largest
variety. More specific terms like tokyo at night or red maple leaves
give a tighter mood but a smaller pool. You can change the keyword any time.
Internet Required
Unsplash photos stream from the cloud, so your Dashie device needs an active internet connection. If you lose connectivity, the slideshow will pause until it reconnects.
Slideshow Settings
These settings apply to whichever source you've picked. You'll find them alongside the source options under Control Center → Screensaver & Display → Screensaver.
| Setting | Options | Description |
|---|---|---|
| Slide Duration | 5, 15, 30, 60 seconds | How long each photo displays before the next one |
| Transition | Fade, Slide, None | Animation style between photos |
| Shuffle | On / Off | Randomize order instead of sequential. On by default. |
| Show Info | On / Off | Overlay photo date and location (when available) |
Coming Soon
Two more photo sources are in active development. They'll appear in your Photos settings once released — no app update required if you're on the latest version.
Google Drive Coming Soon
Connect your Google account and Dashie will pull photos from a dedicated "Dashie Photos" folder in your Google Drive. Drop photos in from any device and they sync automatically to your displays.
Dashie Cloud Coming Soon
Upload photos directly from the Dashie app to your Dashie Cloud storage. Photos sync to every device on your account, with no server or third-party service to manage.
Need Help?
If you have questions or run into issues setting up photos: