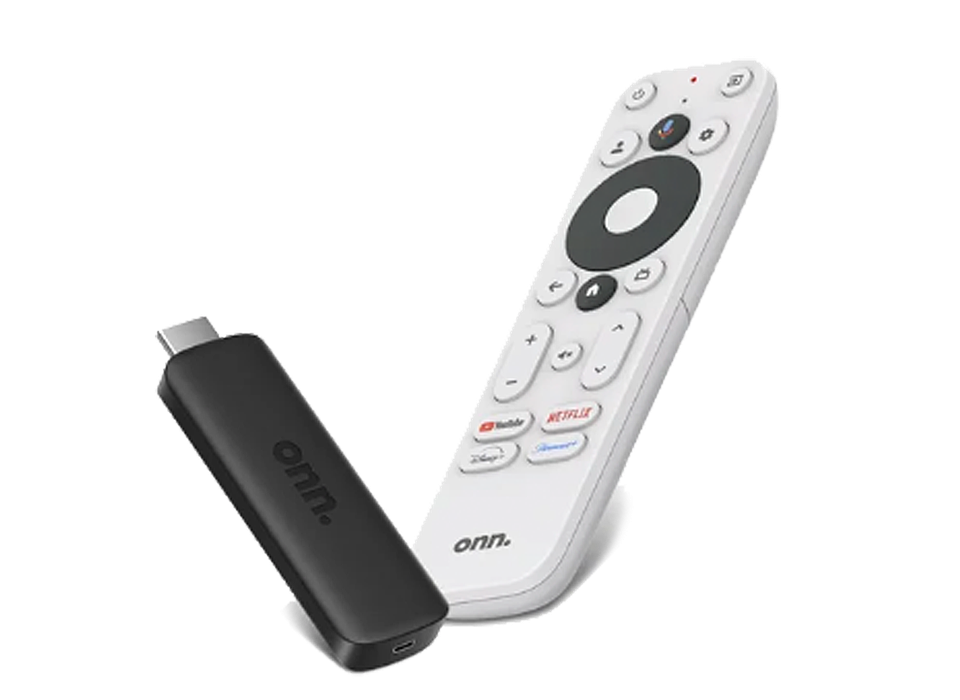
Walmart's onn Google TV streaming stick (the 4K or Full HD model, usually $15–$25) makes a surprisingly great Dashie display. It's a favorite with Home Assistant users for two reasons:
- It's cheap. A dedicated wall or kitchen dashboard for the price of a couple coffees, versus hundreds for a Skylight, Hearth, or commercial panel.
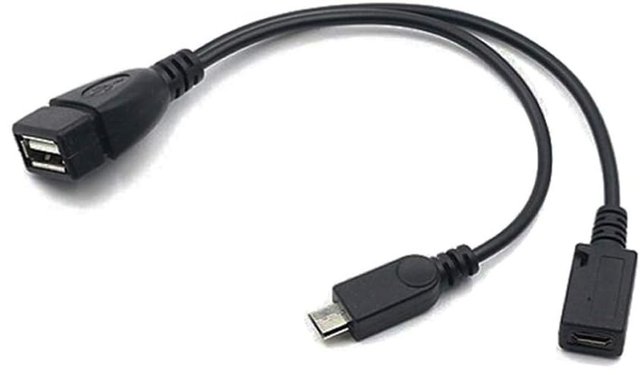
- It takes a USB mic / webcam over OTG. Add a cheap OTG adapter and the same stick can drive "Hey Dashie" voice control and even video — turning a $20 stick + a TV into a voice-assistant-and-camera panel for your smart home.
There are two ways to set it up, and you can do them in order — start simple, then go further whenever you're ready:
- Option 1 — just install Dashie and open it like any other app. The quickest way to get your dashboard on screen.
- Option 2 (bonus) — make it a dedicated device that boots straight into Dashie, with no Google TV home screen and no sponsored-content rows. An optional extra step, not a requirement.
What you'll need
- A Walmart onn Google TV streaming stick (4K or Full HD).
- A TV or monitor with an HDMI port.
-
For sideloading or Option 2 only: a computer (Mac,
Windows, or Linux) with ADB installed — the
Android "platform-tools". Grab it from
developer.android.com,
unzip it, and make sure the
adbcommand is on your PATH. If you install from the Play Store, you don't need a computer at all.
Optional — for voice & video
This is what makes the onn stick especially appealing for Home Assistant setups. With a powered OTG adapter, the stick's single port (micro-USB on the Full HD model, USB-C on the 4K) can host an accessory while staying powered:
- USB microphone — enables Dashie's "Hey Dashie" wake word and voice control. Pair it with Home Assistant's voice pipeline (Whisper for speech-to-text) for a hands-free dashboard. See the Voice Control guide for the Home Assistant side.
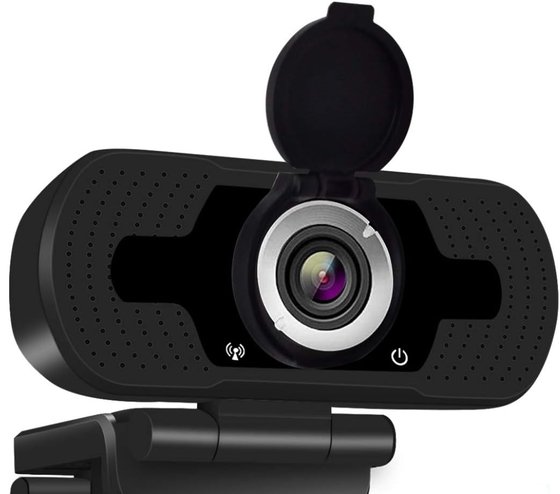
- USB webcam — lets the same panel double as a camera, so a kitchen or hallway display can pull double duty.
Gear we tested
Option 1 Install Dashie
The quickest path: install Dashie like any other app and open it when you want your dashboard. Nothing about the stick changes — you can still use Google TV normally and come back to Dashie any time.
Install from an app store
The onn stick runs Google TV, so open the Google Play Store on the stick, search for Dashie, and install. (On a Fire TV device, use the Amazon Appstore instead.) Updates arrive automatically through the store.
Or sideload it
If your device doesn't have the right store — or you want the self-updating build used in Option 2 — install the APK directly. The full walkthrough is in the Android Sideloading guide; the same ADB steps work on a TV stick.
On first launch, Dashie shows a sign-in screen with a QR code — scan it with your phone (or visit the URL it shows and enter the short code) and sign in with Google there. The stick pairs in a few seconds and starts syncing your calendars, photos, family, and settings. That's all most people need.
Option 2 · Bonus Make it a dedicated device
Ready to turn the stick into a true appliance? This step makes Dashie the home app, so the stick boots straight into your dashboard — no Google TV home, no sponsored rows — and disables the bloat. It's done over ADB from your computer.
--skip-install to keep your installed version
and only apply the dedicated-device config.
1. Prepare the stick
These steps happen on the stick itself, with its remote, and only need to be done once.
Complete Google TV setup
If you haven't already, finish the initial Google TV setup. WiFi is required. A Google account is optional — choose "Skip" if asked, since the dedicated build doesn't need the Play Store.
Turn on Developer options
Go to Settings → System → About and tap "Android TV OS build" seven times. You'll see a "You are now a developer" message.
Turn on Wireless debugging
Go to Settings → System → Developer options → Wireless debugging and toggle it ON. Then select "Pair device with pairing code". The stick will show an IP address, a pairing port, and a 6-digit code — keep this screen up for the next step.
2. Connect from your computer
Open a terminal (Terminal on Mac/Linux, PowerShell on Windows). You'll use two different ports: the pairing port from the dialog above, then the connect port shown on the main Wireless debugging screen.
3. Run the setup script (easiest)
Our script installs the self-updating Dashie build, sets it as the home app, and disables the Google TV launcher and bloat — with safety checks so it never leaves your stick without a working launcher. It runs on Mac and Linux.
The script auto-detects the stick. If you have more than one connected,
pass --device <id> (the id from
adb devices). Run with -h to see all options,
including --skip-install.
Or do it by hand with ADB
Prefer to run the commands yourself, or on Windows? Here's exactly what
the script does. Replace <id> with your device id from
adb devices (or drop -s <id> entirely if
only one device is connected).
a. Install Dashie
b. Make Dashie the home app
c. Disable the Google TV Home launcher
Do this after step b so the stick always has a working launcher.
d. Disable bloat (optional, but recommended)
These are validated safe on the onn stick. Skip any line for an app you actually use (for example, leave out the TalkBack line if you use the screen reader). Repeat the command for each package:
When you're done, unplug and replug the stick — it should boot straight into Dashie.
If something goes wrong
Every change here is reversible — the stick is never permanently altered.
- Get back to system Settings on the stick: hold the BACK button for ~2 seconds anywhere in Dashie. This works even when Dashie is the launcher — it's your escape hatch to change WiFi or reach any Android setting.
-
Restore the Google TV launcher:
adb -s <id> shell pm enable com.google.android.apps.tv.launcherx
-
Re-enable any disabled app:
adb -s <id> shell pm enable <package-name>
- Start completely over: a factory reset from the stick's Settings returns it to stock.
Support and feedback
We're here to help and we love hearing how people are using Dashie. Reach out at support@dashieapp.com or through the website and we'll get back to you quickly.